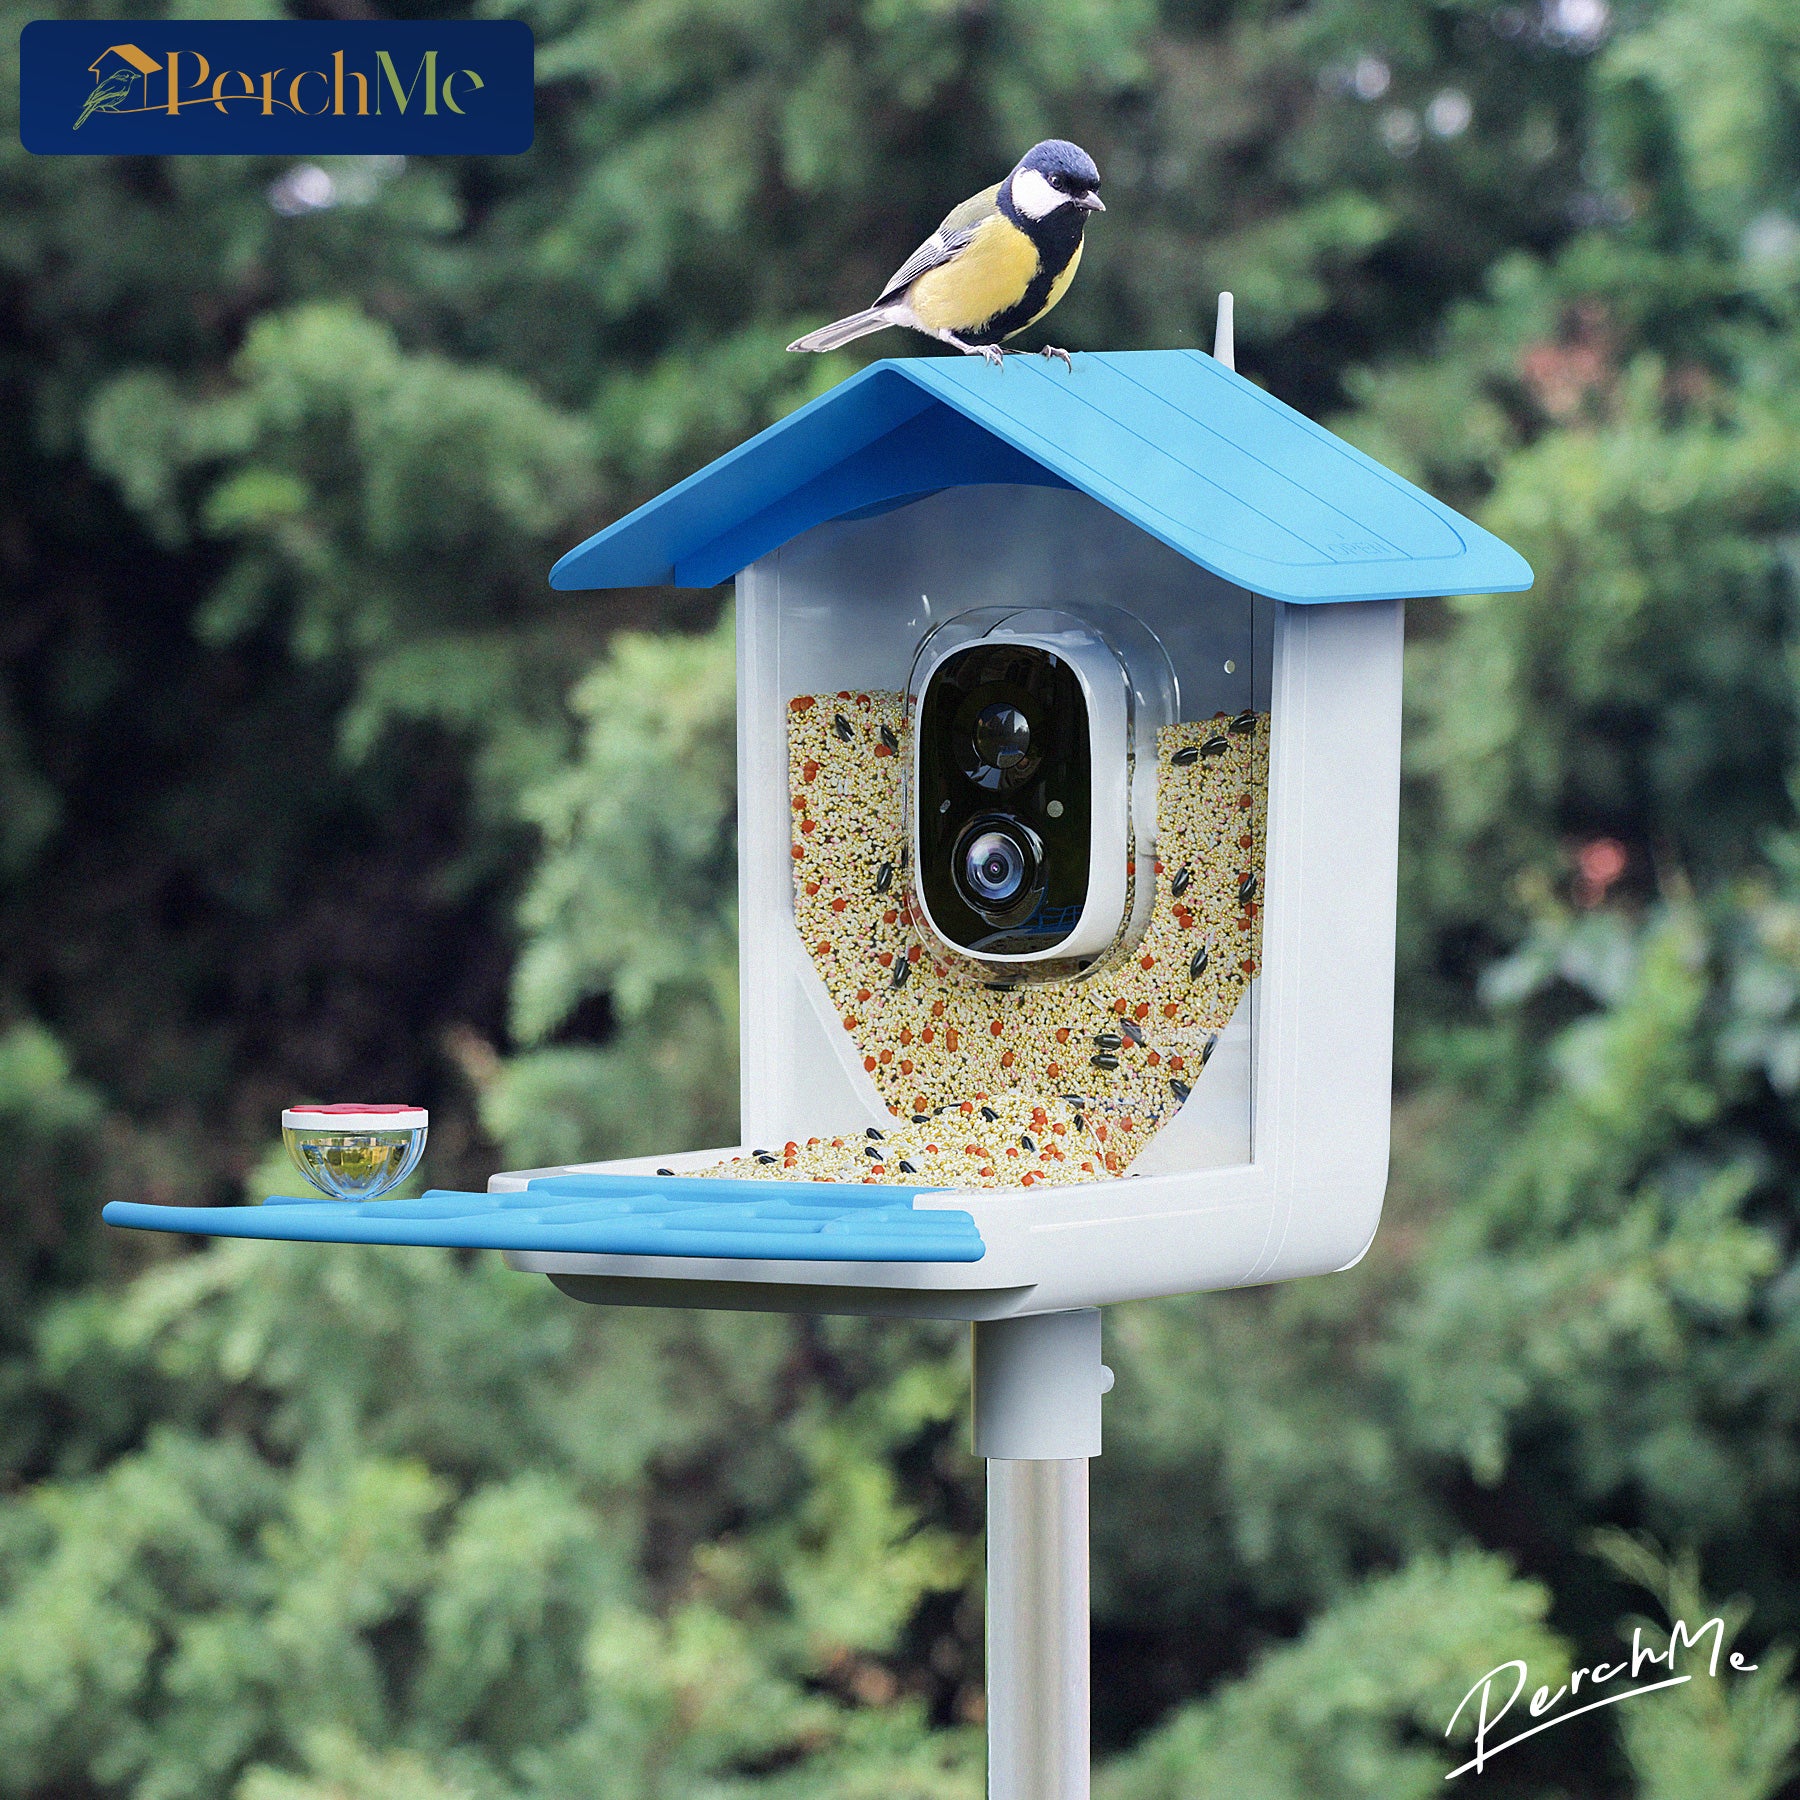
Bird watching has always been a delightful hobby, but with the advent of smart bird feeders equipped with cameras, it has become even more engaging and accessible. These high-tech feeders not only allow you to watch birds up close from the comfort of your home but also help in studying and understanding bird behavior through their built-in cameras. However, like all bird feeders, they require regular cleaning to ensure the health of the birds and the optimal functioning of the device. Here’s a comprehensive guide on how to clean your smart bird feeder with a camera.
Step 1: Unmount Your Smart Bird Feeder
Safety first! Ensure that the feeder is safely and completely unmounted from its position. Depending on the model, you may need to unscrew or unclip the feeder from its mount. Be gentle to avoid damaging any of the electronic components or the camera.
Step 2: Power Down the Batteries
Before proceeding with any cleaning, make sure to power down the device and or disconnect the batteries from any power sources. This step is crucial to prevent any electrical damage or short-circuiting during the cleaning process.
Step 3: Disassemble Removable Parts
Most smart bird feeders come with removable trays or components for easy cleaning. Carefully disassemble these parts. Refer to the user manual to understand which parts are safe to remove and clean separately.
Step 4: Wipe Down the Camera and Electronics
Using a soft, dry cloth, gently wipe the camera lens and any exposed electronic parts. For tougher spots or to remove dust, you can use a microfiber cloth slightly dampened with water or an appropriate lens cleaner. Avoid using harsh chemicals or abrasive cloths that could scratch or damage the lens and electronics.
Step 5: Clean the Feeding Trays and Other Components
Soak the removable trays and other non-electronic components in a solution of warm water and mild dish soap. Use a soft brush or sponge to scrub away any dirt, bird droppings, or remnants of bird food. Rinse thoroughly with clean water.
Step 6: Sanitize
To prevent the spread of diseases among your feathered friends, it’s important to sanitize the feeder. You can use a solution of one part vinegar to nine parts water, or a mild bleach solution (one part bleach to nine parts water). Soak the parts for about 10 minutes, then rinse thoroughly with water to ensure no chemical residue is left.
Step 7: Dry Completely
After cleaning and sanitizing, allow all parts to air dry completely before reassembling the feeder. This step is crucial to prevent mold growth and to ensure that no water comes into contact with the electrical components.
Step 8: Reassemble and Remount
Once everything is dry, reassemble your smart bird feeder according to the instructions in the user manual. Make sure all parts are secure and correctly positioned. Remount the feeder in its designated spot and reconnect any batteries or power sources.
Step 9: Test the Camera
Before you declare the cleaning process complete, test the camera to ensure it’s functioning correctly. Check the live feed to see if the image is clear and the connection is stable.
Conclusion
Regular cleaning of your smart bird feeder not only promotes the health of the local bird population but also ensures that you get the best possible experience from your high-tech nature watching. By following these steps, you can enjoy a pristine and fully functional bird watching setup, all while contributing to the welfare of your feathered visitors.
Remember, the frequency of cleaning will depend on the number of birds visiting your feeder and local weather conditions. Typically, cleaning it once every two weeks is sufficient, but more frequent cleaning may be necessary in rainy or snowy conditions. Happy bird watching!



Leave a comment
All comments are moderated before being published.
This site is protected by hCaptcha and the hCaptcha Privacy Policy and Terms of Service apply.