
Hummingbirds are nature’s glittering acrobats, and attracting them to your backyard doesn’t require expensive gadgets—just a simple feeder and the right know-how. While store-bought options like PerchMe’s smart feeders offer convenience, crafting your own DIY nectar station can be a fun weekend project. Here’s how to do it right, minus the hype.
1. Skip the Fancy Ingredients—Sugar Water Works Best
Forget red dye, honey, or organic substitutes. Hummingbirds thrive on plain sugar water. The ideal recipe? Mix 1 part white granulated sugar with 4 parts water (e.g., 1 cup sugar + 4 cups water). Boil the water to dissolve the sugar, let it cool, and pour it into your feeder. Avoid additives—they’re unnecessary and potentially harmful to birds.
**Pro Tip:** Store extra nectar in the fridge for up to two weeks. Replace feeder nectar every 2-3 days (daily in hot weather) to prevent fermentation or mold.

2. Choose Simple, Easy-to-Clean Materials
Plastic or glass? Either works, but prioritize ease of cleaning. Hummingbird feeders need weekly scrubbing with hot water and vinegar (no soap residue!). Avoid intricate designs with hard-to-reach corners where mold can hide. A basic bottle or inverted jar with feeding ports gets the job done.
**DIY Hack:** Repurpose a small mason jar or plastic bottle. Drill 1/8-inch holes in the lid and insert red plastic flowers (sold at craft stores) to mimic natural blooms. Note: Red coloring isn’t needed in the nectar itself.

3. Location Matters More Than You Think
Hummingbirds are skittish. Hang your feeder:
- Near trees or shrubs for quick escape routes.
- Away from windows (to prevent collisions).
- In partial shade to slow nectar spoilage.
- Avoid placing feeders near other bird feeders—hummingbirds dislike competition.

4. Ants and Bees? Here’s the Fix
DIY feeders often attract uninvited guests. Combat this by:
- Using an ant moat: Hang a small water-filled cup above the feeder.
- Applying petroleum jelly on hanging wires (ants hate the texture).
5. Keep It Safe: Hygiene First
Moldy nectar can harm hummingbirds. Clean feeders thoroughly every time you refill them. Scrub ports with a bottle brush, rinse well, and air-dry before refilling. If black mold appears, soak the feeder in a 10% bleach solution for an hour.
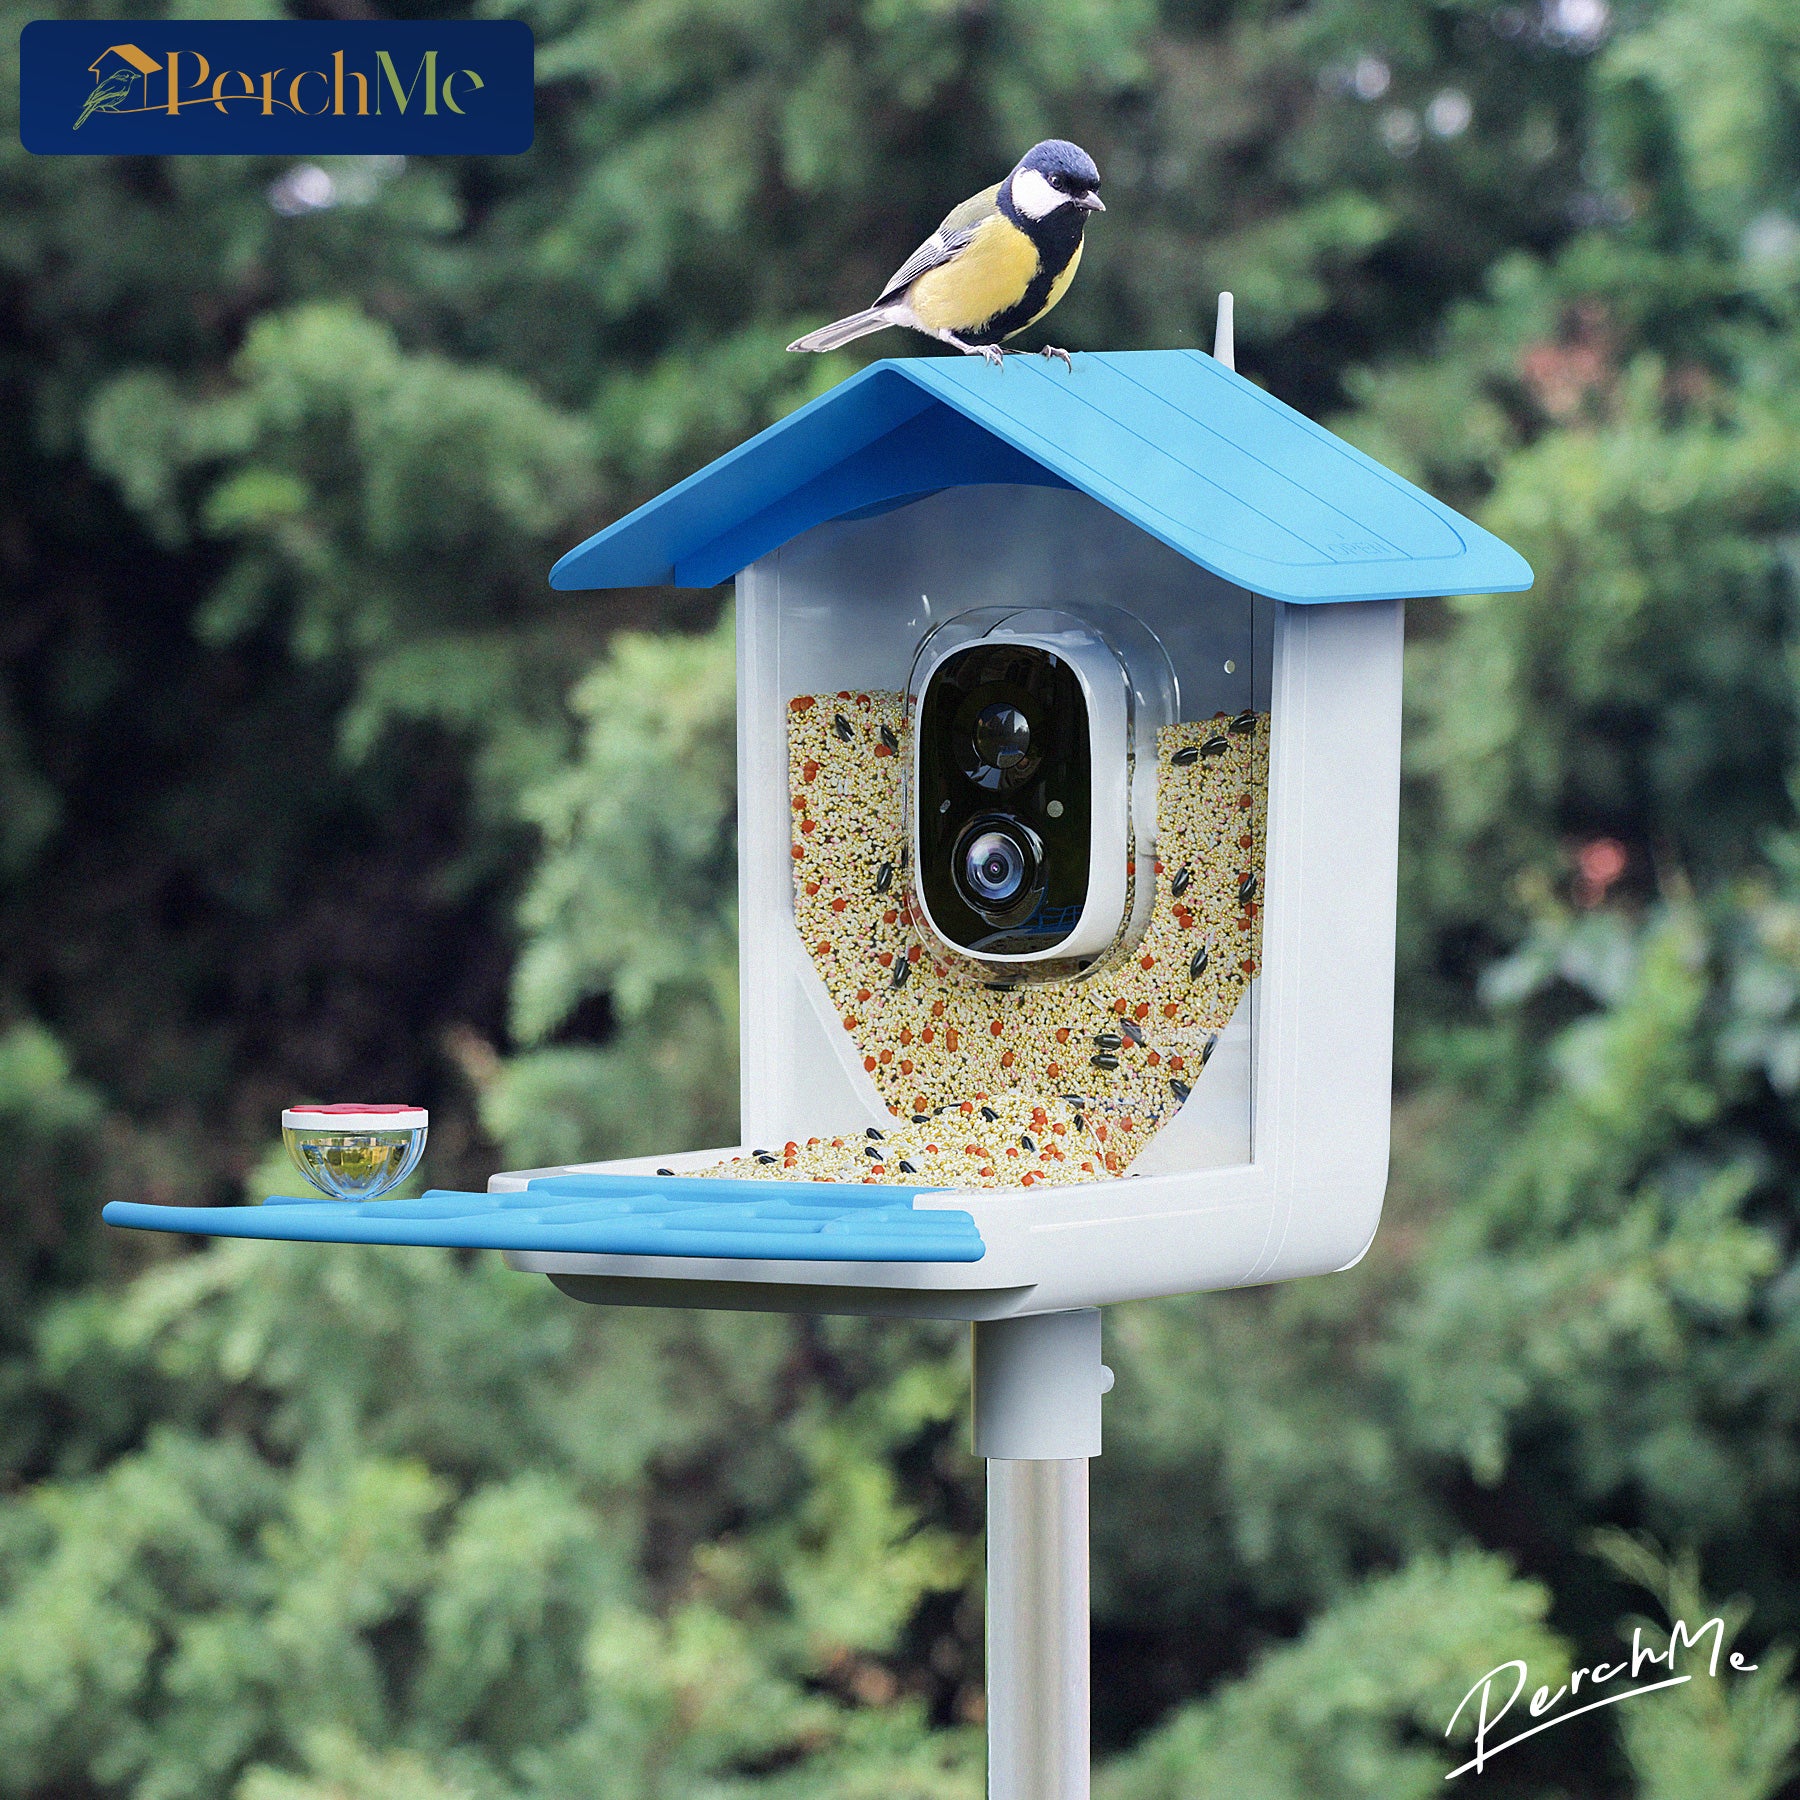
**REALITY CHECK** DIY feeders require caution. If you're pressed for time, consider a low-maintenance option like PerchMe's UV-resistant, easy-to-clean feeders.

Why PerchMe? For When DIY Becomes “Did I Really Sign Up for This?”
We love DIY projects—but let’s be honest: Life gets busy. Between scrubbing stubborn nectar residue and battling ants, maintaining a homemade feeder can feel like a part-time job.
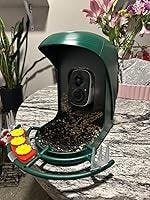
PerchMe’s feeders focus on what actually works:
- Durable for outdoor use
Made from weather-resistant plastic that holds up against rain and sun exposure. - Colors where it counts
Feeding ports are molded into flower shapes with built-in red accents—no need for dyed nectar. - Less time cleaning
Wide-mouth design and smooth surfaces make rinsing faster than scrubbing a mason jar.
We’re not saying DIY is bad—just that sometimes, watching hummingbirds should be simpler than maintaining the feeder.
Final Thought: Feed the Birds, Not Your Guilt
Whether you build a feeder from scratch or opt for a PerchMe model, what matters is providing a safe, reliable food source. Hummingbirds don’t care if your setup is Pinterest-worthy. They care about fresh nectar, a clean perch, and a spot to refuel mid-flight.
Ready to upgrade your birdwatching game? Explore PerchMe’s hummingbird feeders—or grab a mason jar and start crafting. Either way, happy birding!
About PerchMe: We make smart bird feeders that blend innovation with practicality. No gimmicks, just thoughtful design to keep birds—and people—happier.


Leave a comment
All comments are moderated before being published.
This site is protected by hCaptcha and the hCaptcha Privacy Policy and Terms of Service apply.